Your cart is currently empty!
Building a Nuc Into a Hive
You have installed a nuc into a full size hive body. Your next goal is to build the hives population so they are strong enough to make it through our long winters and hopefully to gather some honey for you. The three most important things are nutrition, adding space, and pest and disease management.
Nutrition
Just like all living creatures, nutrition plays a big part in the success of a hive. bees naturally get their nutrition from collecting nectar and pollen from flowers. Bees have developed a system to store these foods in the form of honey and bee bread stored in comb.
The other nutrients required by bees are water and minerals. Hopefully there is a water source by your hives. If not you might want to supply one. Bees collect minerals from natural sources and so we don’t usually need to worry about them.
A hives behavior is influenced by the availability of these foods. When there is abundance, and the weather cooperates, bees will increase their production of brood and so expand their numbers. This is what we want in the spring in order to build the hives strength.
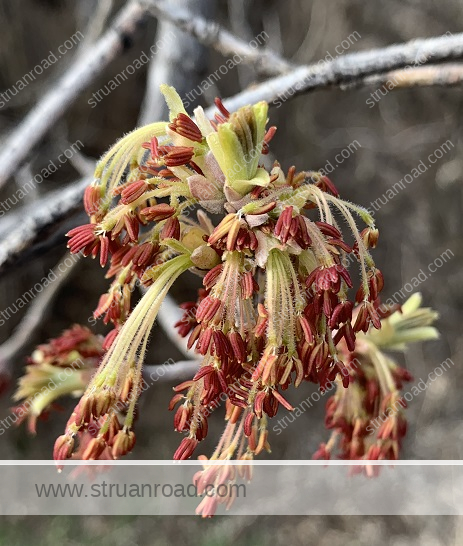
In Saskatchewan the first natural nutrition comes from trees and bushes, the first plants to flower. The flowers might not look like much but to the bees its a feast.
The problem is that there is not much if any nectar in the early spring flowers. It is necessary to feed sugar water to stimulate brood and comb production.
There are four main types of sugar feeders.
- The Boardman Feeder fits into the front entrance of the hive, but it can not hold much syrup and so is not practical.
- The in-hive feeder holds more, but you need to open the hive to add syrup and it takes up the space of one or two frames.
- The top feeder sits above the hive like another super and has about a two gallon capacity. It is difficult to remove it to inspect the hive if it is full. Inspect first then fill. The syrup tends to be kept warm by the hive heat making it more acceptable to the bees.
- The feeder pail is the most used system. A pail with a very fine screen is inverted and aligned with a hole in the inner cover. An empty super and the lid can be placed over the pail to help keep in the heat. Pails usually hold 3.5 gallons.
The two major types of syrup fed to bees are high-fructose corn syrup (HFCS), and dissolved granulated sugar. Granulated sugar is more commonly used by small beekeepers. Many commercial beekeepers also use it as it has been shown to help the bees produce more brood.
In the spring, we feed a syrup in a 1:1 ratio of sugar to water by weight. This makes it close to what nectar would be moisture wise. We want the bees to feel there is a nectar flow on, causing them to raise more brood and build more comb, especially if we are trying to get them to build out foundation.
You can use the following calculator to get the amounts of sugar and water to mix. The exact ratio is not critical, so a little more of this or that wont make a huge difference to the bees.
Pollen is the other vital nutrient for bees, their source of protein. They store pollen as bee bread, which is pollen mixed with a bit of honey and packed into cells, using their heads as a packing tool. If there is not a natural source of pollen, it is wise to feed a supplement either by adding pollen patties on the top bars inside the hive, or by using an external pollen feeder and dry pollen substitute.
There is nothing like natural pollen to a bee, and they will not forage an external feeder if they can get to “real” pollen. Bees, like all of us, need specific types of amino acids, the compounds of proteins.
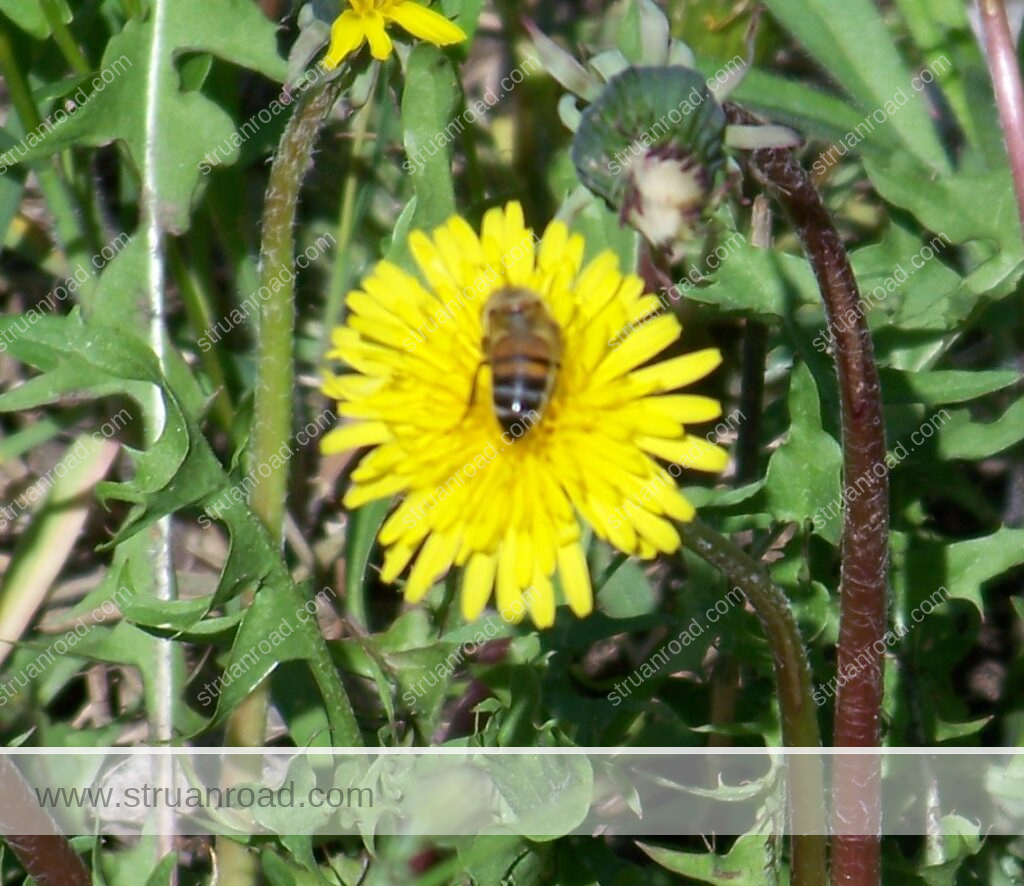
I find it interesting, for example, that bees can not raise brood strictly from dandelion pollen, one of the first non woody plants to produce pollen in later spring. Dandelions also provide a good source of nectar.
Adding Space
If you are lucky enough to have some drawn comb, or can find some to purchase, you will be ahead of the game. It takes extra energy and work for the bees to draw foundation.
The first step to adding space for your new hive is to expand the brood nest. If you are using foundation, do not think of it as space to the bees. To them, drawn comb is space. They will draw the comb to either side of the initial four frames from the nuc, thus expanding their space.
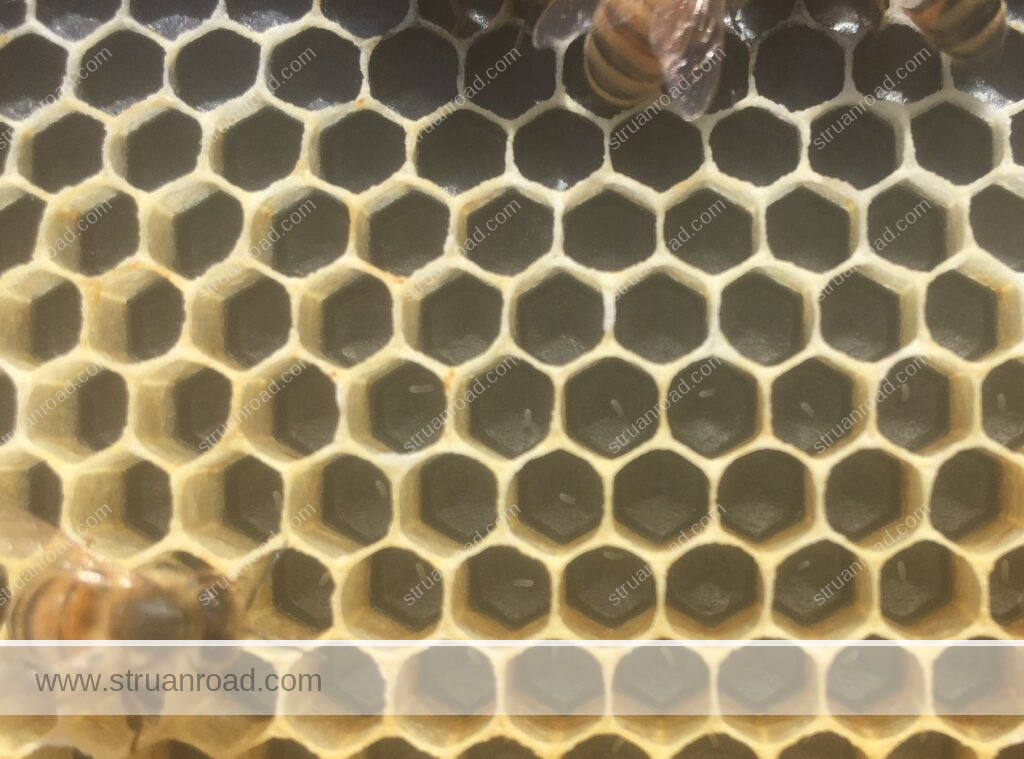
If the bees have a nectar/syrup source they will start filling the new comb, even before it if fully drawn. The queen might even lay eggs in partially drawn comb, encouraging the bees to finish drawing it out.
The brood nest is a round area where there is brood, bound by pollen, and then honey. It will be on multiple frames and in the spring, it will be fairly small. Our aim is to enlarge the brood chamber so the queen can lay more eggs and the hive can raise more brood, increasing the population. The bees will expand the brood chamber as the stores, pollen and honey are consumed, but this takes time. We can help by adding an empty frame in the middle of the brood chamber, thus giving the queen more room to lay eggs.
If there is a good coverage of the brood nest by bees, you can expand the brood nest. It is a bit of a judgement call and something you will be able to judge better as you gain experience. If the weather is going o be cool, you might want to postpone this step for a few days to a week. Do not use foundation at this stage for the expansion however foundation that is mostly drawn, can be used. If it has eggs and/or honey stores even better.
Once you have selected a good frame, remove it if it is in your hive, or remove two frames of foundation from one edge. Split the brood chamber by moving frames to allow room for the new frame. We removed two frames to allow plenty of space to insert the new frame. You do not want to accidentally squish the queen at this point, or any other point for that mater. It is advisable to use nine frames in the brood chamber and even in the honey supers so that there is more room for manipulating frames.
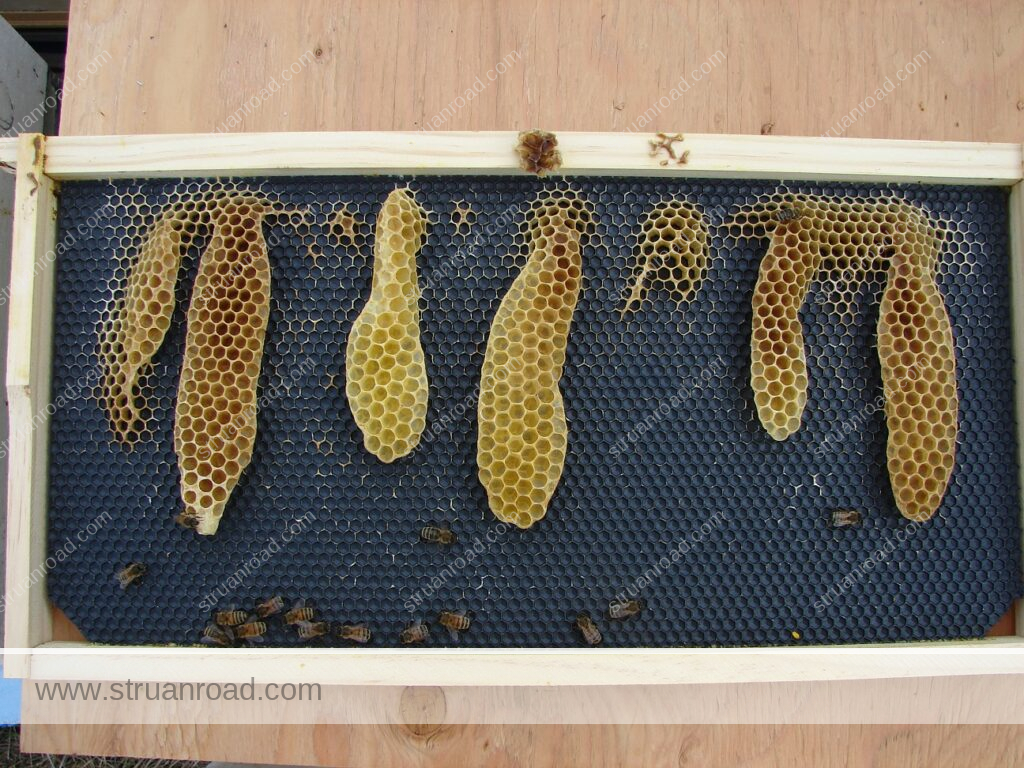
When working with foundation however it is important to keep the frames tight together to maintain a proper bee space or else the bees might make a mess of the frame with burr comb. Use ten frames when working with foundation if there is too much empty space with nine.
The process can be repeated once the queen has laid up the inserted frame. Once the first super is expanded and there are bees covering most of the frames, you can expand the hive to two supers.
Pest and Disease
There are too many pests and diseases for us to cover them all here, so I will concentrate on the most important.
Important pests include ants, mice and predator’s such as bears, skunks, wasps and hornets. Keeping these critters away from your hives as much as possible.
Diseases include the foulbrood bacteria, chalkbrood and deformed wing virus. It is important to learn about these and keep an eye out for signs of these diseases.
The biggest threat to bee hives over the past few decades is the parasite Varroa destructor. This tiny mite feeds on the fat bodies of the adult, larva and pupal stages. It is of utmost importance to test the mite levels and to treat hives for varroa mites. The source of your bees should have been treated in the spring, It is important to make sure any bees you are purchasing have been inspected by the provincial apiarist. Ask for the inspection report from the source of your bees. It will show the results of tests for the mite.
You should not need to treat your hives until fall, but it is a good habit to get into to test for varroa regularly and also keep a lookout for signs of its presence. A hive that is not treated for varroa mites will almost certainly die, usually while being overwintered.
Penn State University has a nice introductory page on Honey Bee Parasites, Pests, Predators, and Diseases.
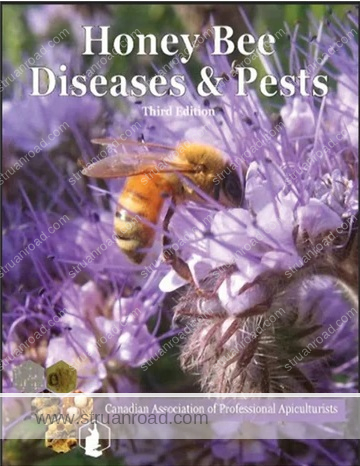
A really good reference book is Honeybee Diseases & Pests by the Canadian Association of Professional Apiculturists. It is available from Bee Maid.
